How to Use the SDK
Adding the SDK
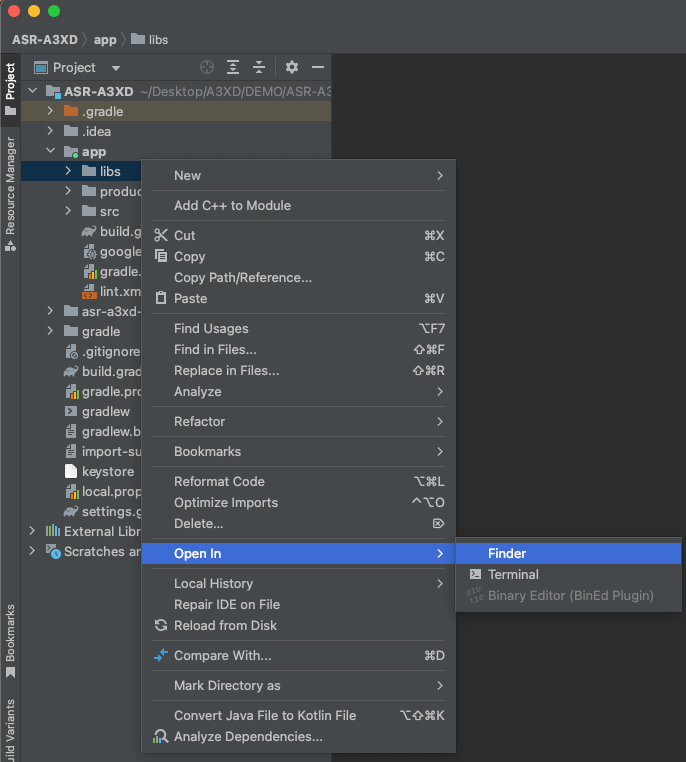
In your Android Studio project,
navigate to “app” → “libs”, right-click, and select “Open in Finder.”
In the Finder window that appears, open the “libs” folder,
and paste theasr-a3xd-sdk.aarfile into this folder.
After pasting, you should seeasr-a3xd-sdk.aarlisted under “libs.”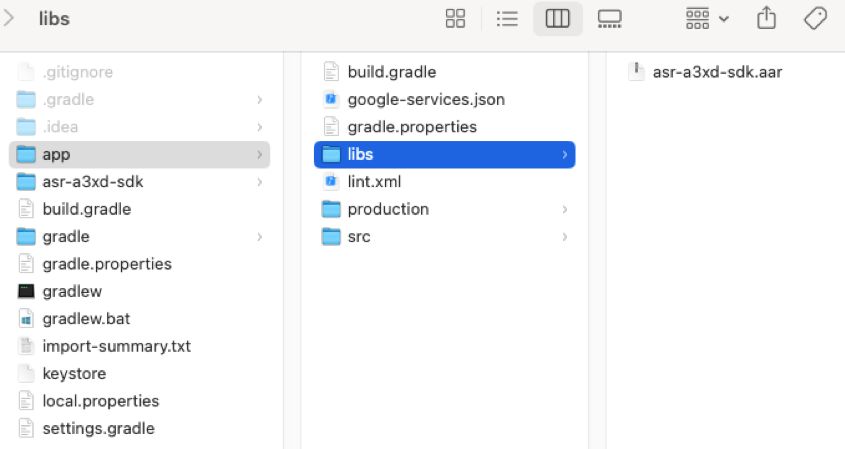
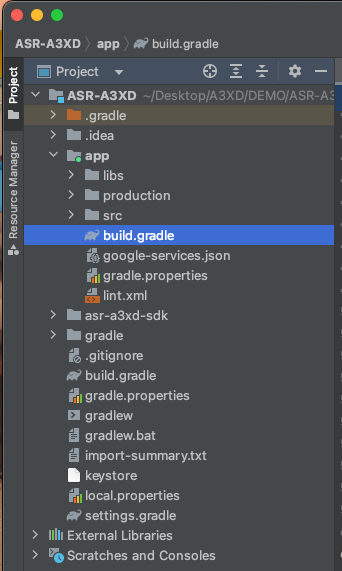
Double-click “build.gradle (Module: app)” to open it.
Add the library to the dependencies section.
Then click “Sync Now” at the top of the screen to synchronize.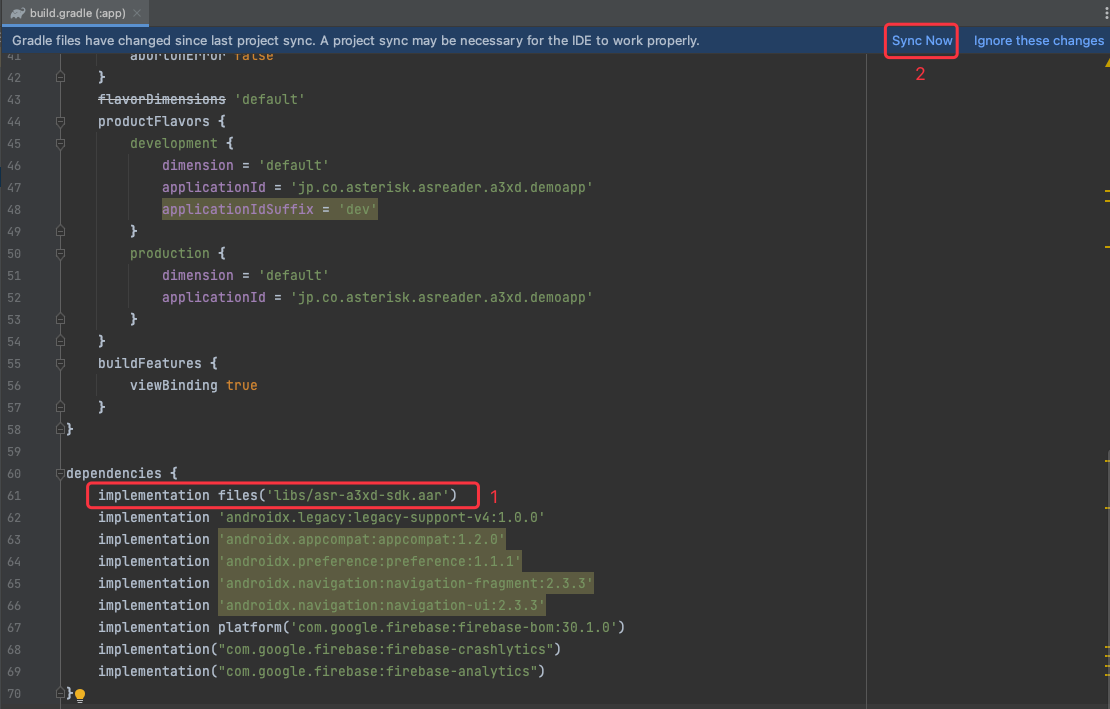
When synchronization succeeds, the following screen will appear.
SDK installation is now complete.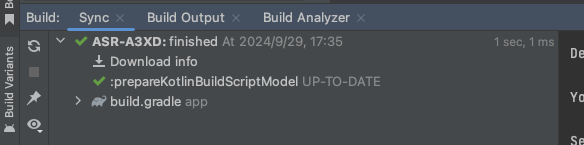
Using the SDK
Importing the Library
Use the import statement to include the library in your target class.
import jp.co.asterisk.asreader.a3xd.sdk.AsReaderSDK;
Initializing AsReaderSDK
AsReaderSDK asReaderSDK = AsReaderSDK.getInstance();
Implementing the DeviceManagerCallback Interface
Implement the
DeviceManagerCallbackinterface.// Example: Implementing DeviceManagerCallback in MainActivity public class MainActivity extends AppCompatActivity implements DeviceManagerCallback {
Set the callback listener.
AsReaderSDK.getInstance().getDeviceManager().setCallback(this);
Hover over the red underline (error indicator) and click “Implement methods.”

Select the methods you want to add and click OK.
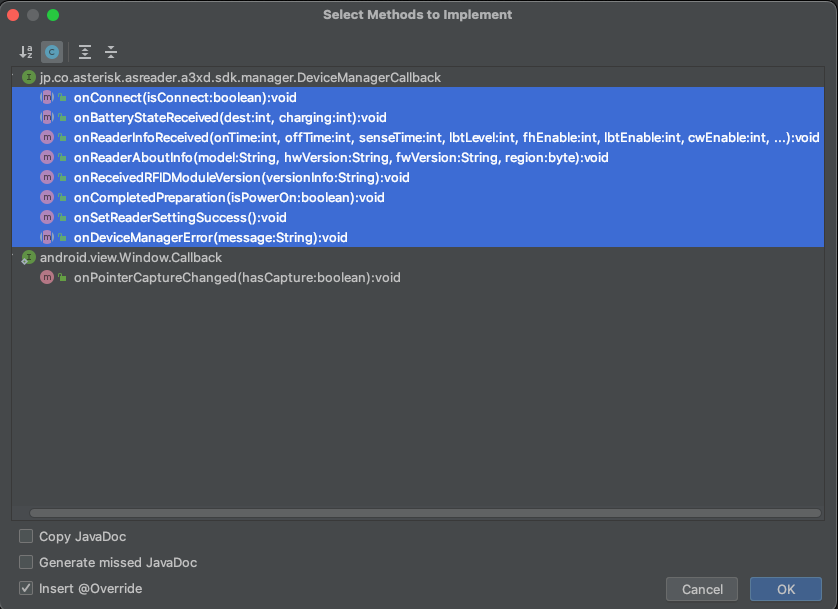
The methods for
DeviceManagerCallbackwill be automatically generated.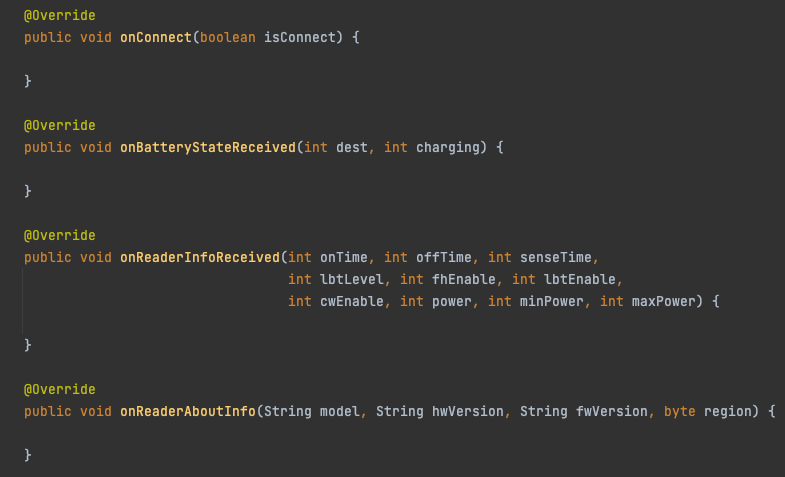
Initializing the SDK
Initialize the SDK.
AsReaderSDK.getInstance().initialize(context: this);
Power On
Turn on the AsReader device.
AsReaderSDK.getInstance()
    .getDeviceManager()
    .setPowerWithOption(
        power: true,
        beep: true,
        vib: true,
        led: true,
        aimer: true,
        PowerOnBeep: true
    );
Power Off
Turn off the AsReader device.
AsReaderSDK.getInstance()
    .getDeviceManager()
    .setPowerWithOption(
        power: false,
        beep: true,
        vib: true,
        led: true,
        aimer: true,
        PowerOnBeep: true
    );
Start Inventory
Connect to the AsReader and start inventory (reading) of RF tag data.
You can receive the inventory results via the onTagReceived interface.
AsReaderSDK.getInstance()
    .getRFIDManager()
    .startInventory(
        maxTags: 0,
        maxTime: 0,
        repeatCycle: 0
    );

@Override
public void onTagReceived(int[] dest) {
}
Stop Inventory
Stop the RF tag inventory process.
AsReaderSDK.getInstance().getRFIDManager().stopDecode();