How to Use the SDK
Adding the SDK
Navigate to
app->libs-> right-click -> selectOpen in Finder.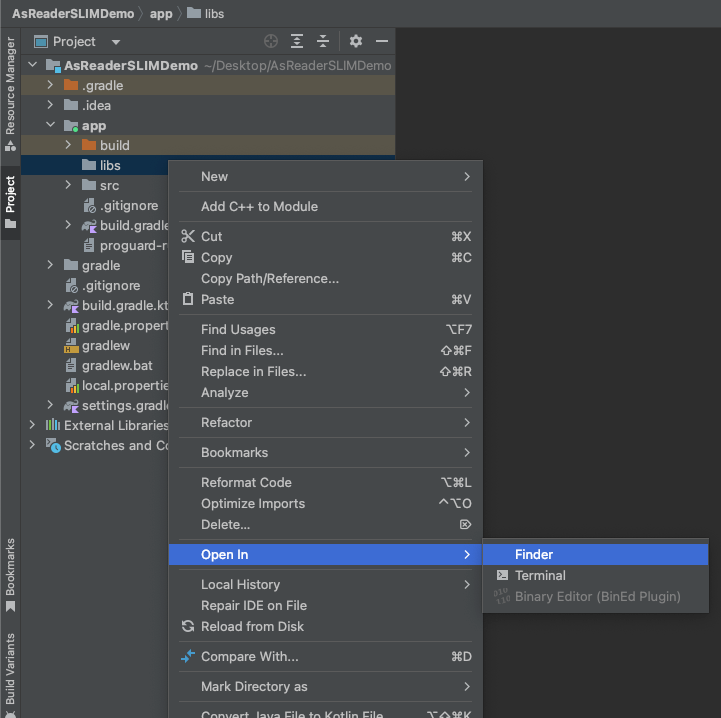
In the popup window, select the
libsfolder and pasteA24D-SDK.aarinto this folder.
A24D-SDK.aarwill then appear under the project’slibs.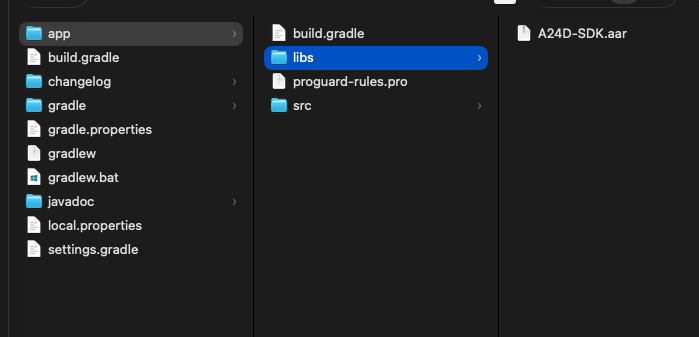
Double-click
build.gradle.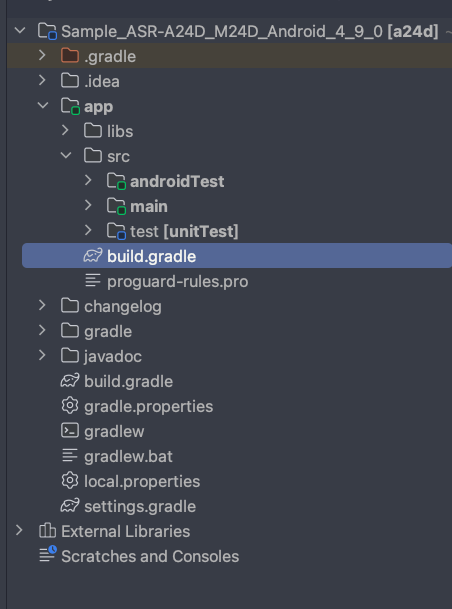
Import the library in the dependencies section.
Then clickSync Nowto synchronize the project.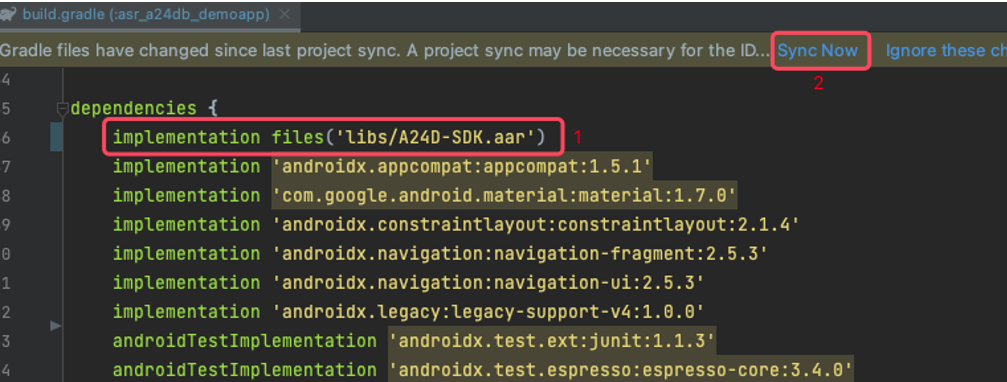
Once the synchronization is successful, it will be displayed as below.
The SDK is now added.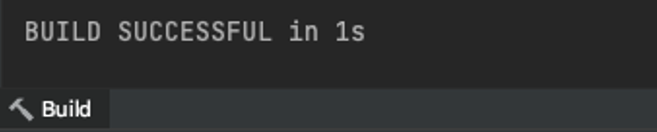
Using the SDK
Reference the library in the class using the import statement.
import jp.co.asterisk.asreader.a24d.sdk.AsReader;
Create and initialize the AsReader object.
AsReader.getInstance().initialize(getApplicationContext(), ConnectionType.USB);
Implement DeviceManagerCallback to execute other commands after a successful connection.
AsReader.getInstance().getDeviceManager().setCallback(new DeviceManagerCallback() {
    @Override
    public void onConnect(boolean isConnect) {

    }

    @Override
    public void onBatteryStateReceived(int battery) {

    }

    @Override
    public void onTriggerEventReceived(DeviceConst.DeviceTriggerEvent event){

    }

    @Override
    public void onDeviceManagerError(AsReaderError.ErrorCode code) {

    }
});
Implement BarcodeManagerCallback to receive barcode decoding results via callback.
AsReader.getInstance().getBarcodeManager().setCallback(new BarcodeManagerCallback() {
    @Override
    public void onReceivedBarcodeDecodeData(String decodeData, Map<String, String> parameter) {

    }

    @Override
    public void onBarcodeManagerError {

    }
});
Start barcode decoding:
if (AsReader.getInstance().getDeviceManager().isConnected()) {
    AsReader.getInstance().getBarcodeManager().startDecode();
}